


If you’ve ever run out of battery mid-ride, you already know — range anxiety is real.
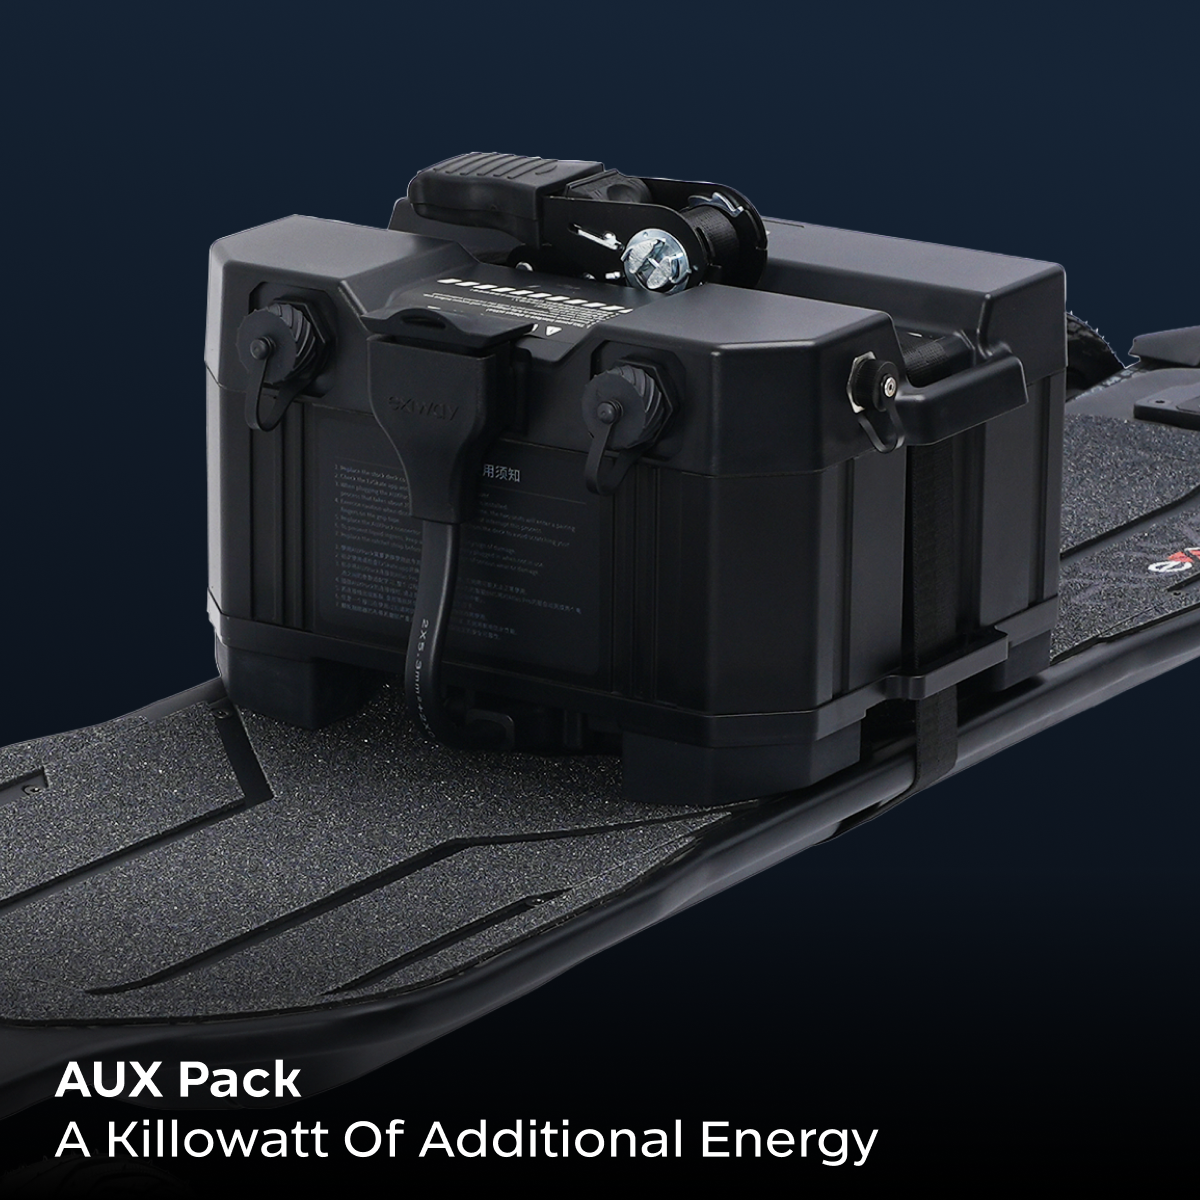
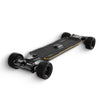
For riders using the Atlas series, the AUX Pack is designed to solve exactly that. It gives you significantly more range and the freedom to ride longer without constantly checking your battery.
In this guide, we’ll walk you through the full installation process step by step, so you can set it up correctly and get back to riding in just a few minutes.
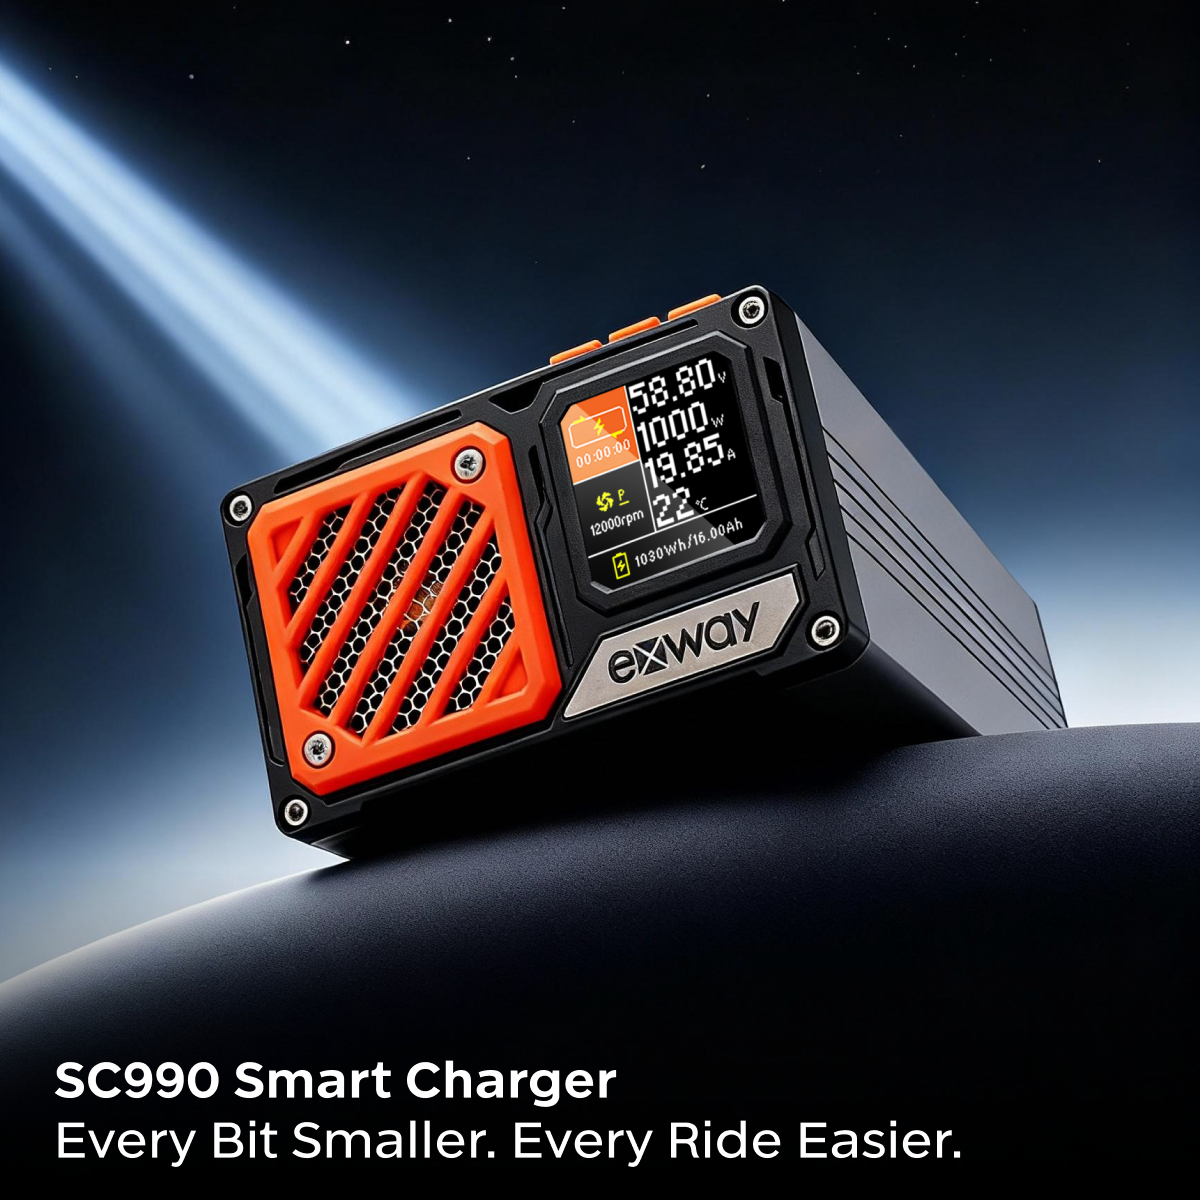
Video Tutorial: How to Install the Exway AUX Pack
If you prefer to follow a visual guide, watch the official installation video below:
What You Need Before Installation
Before getting started, make sure you have everything ready.

Required components:
- AUX Pack battery
- Connection cable
- Ratchet strap
- AUX-compatible deck cover (for Atlas series)
- Screws
These components are usually included in the AUX Pack kit. If your board does not already have the AUX-compatible deck cover installed, you will need to replace it first.
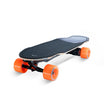
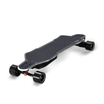
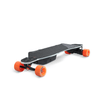
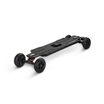
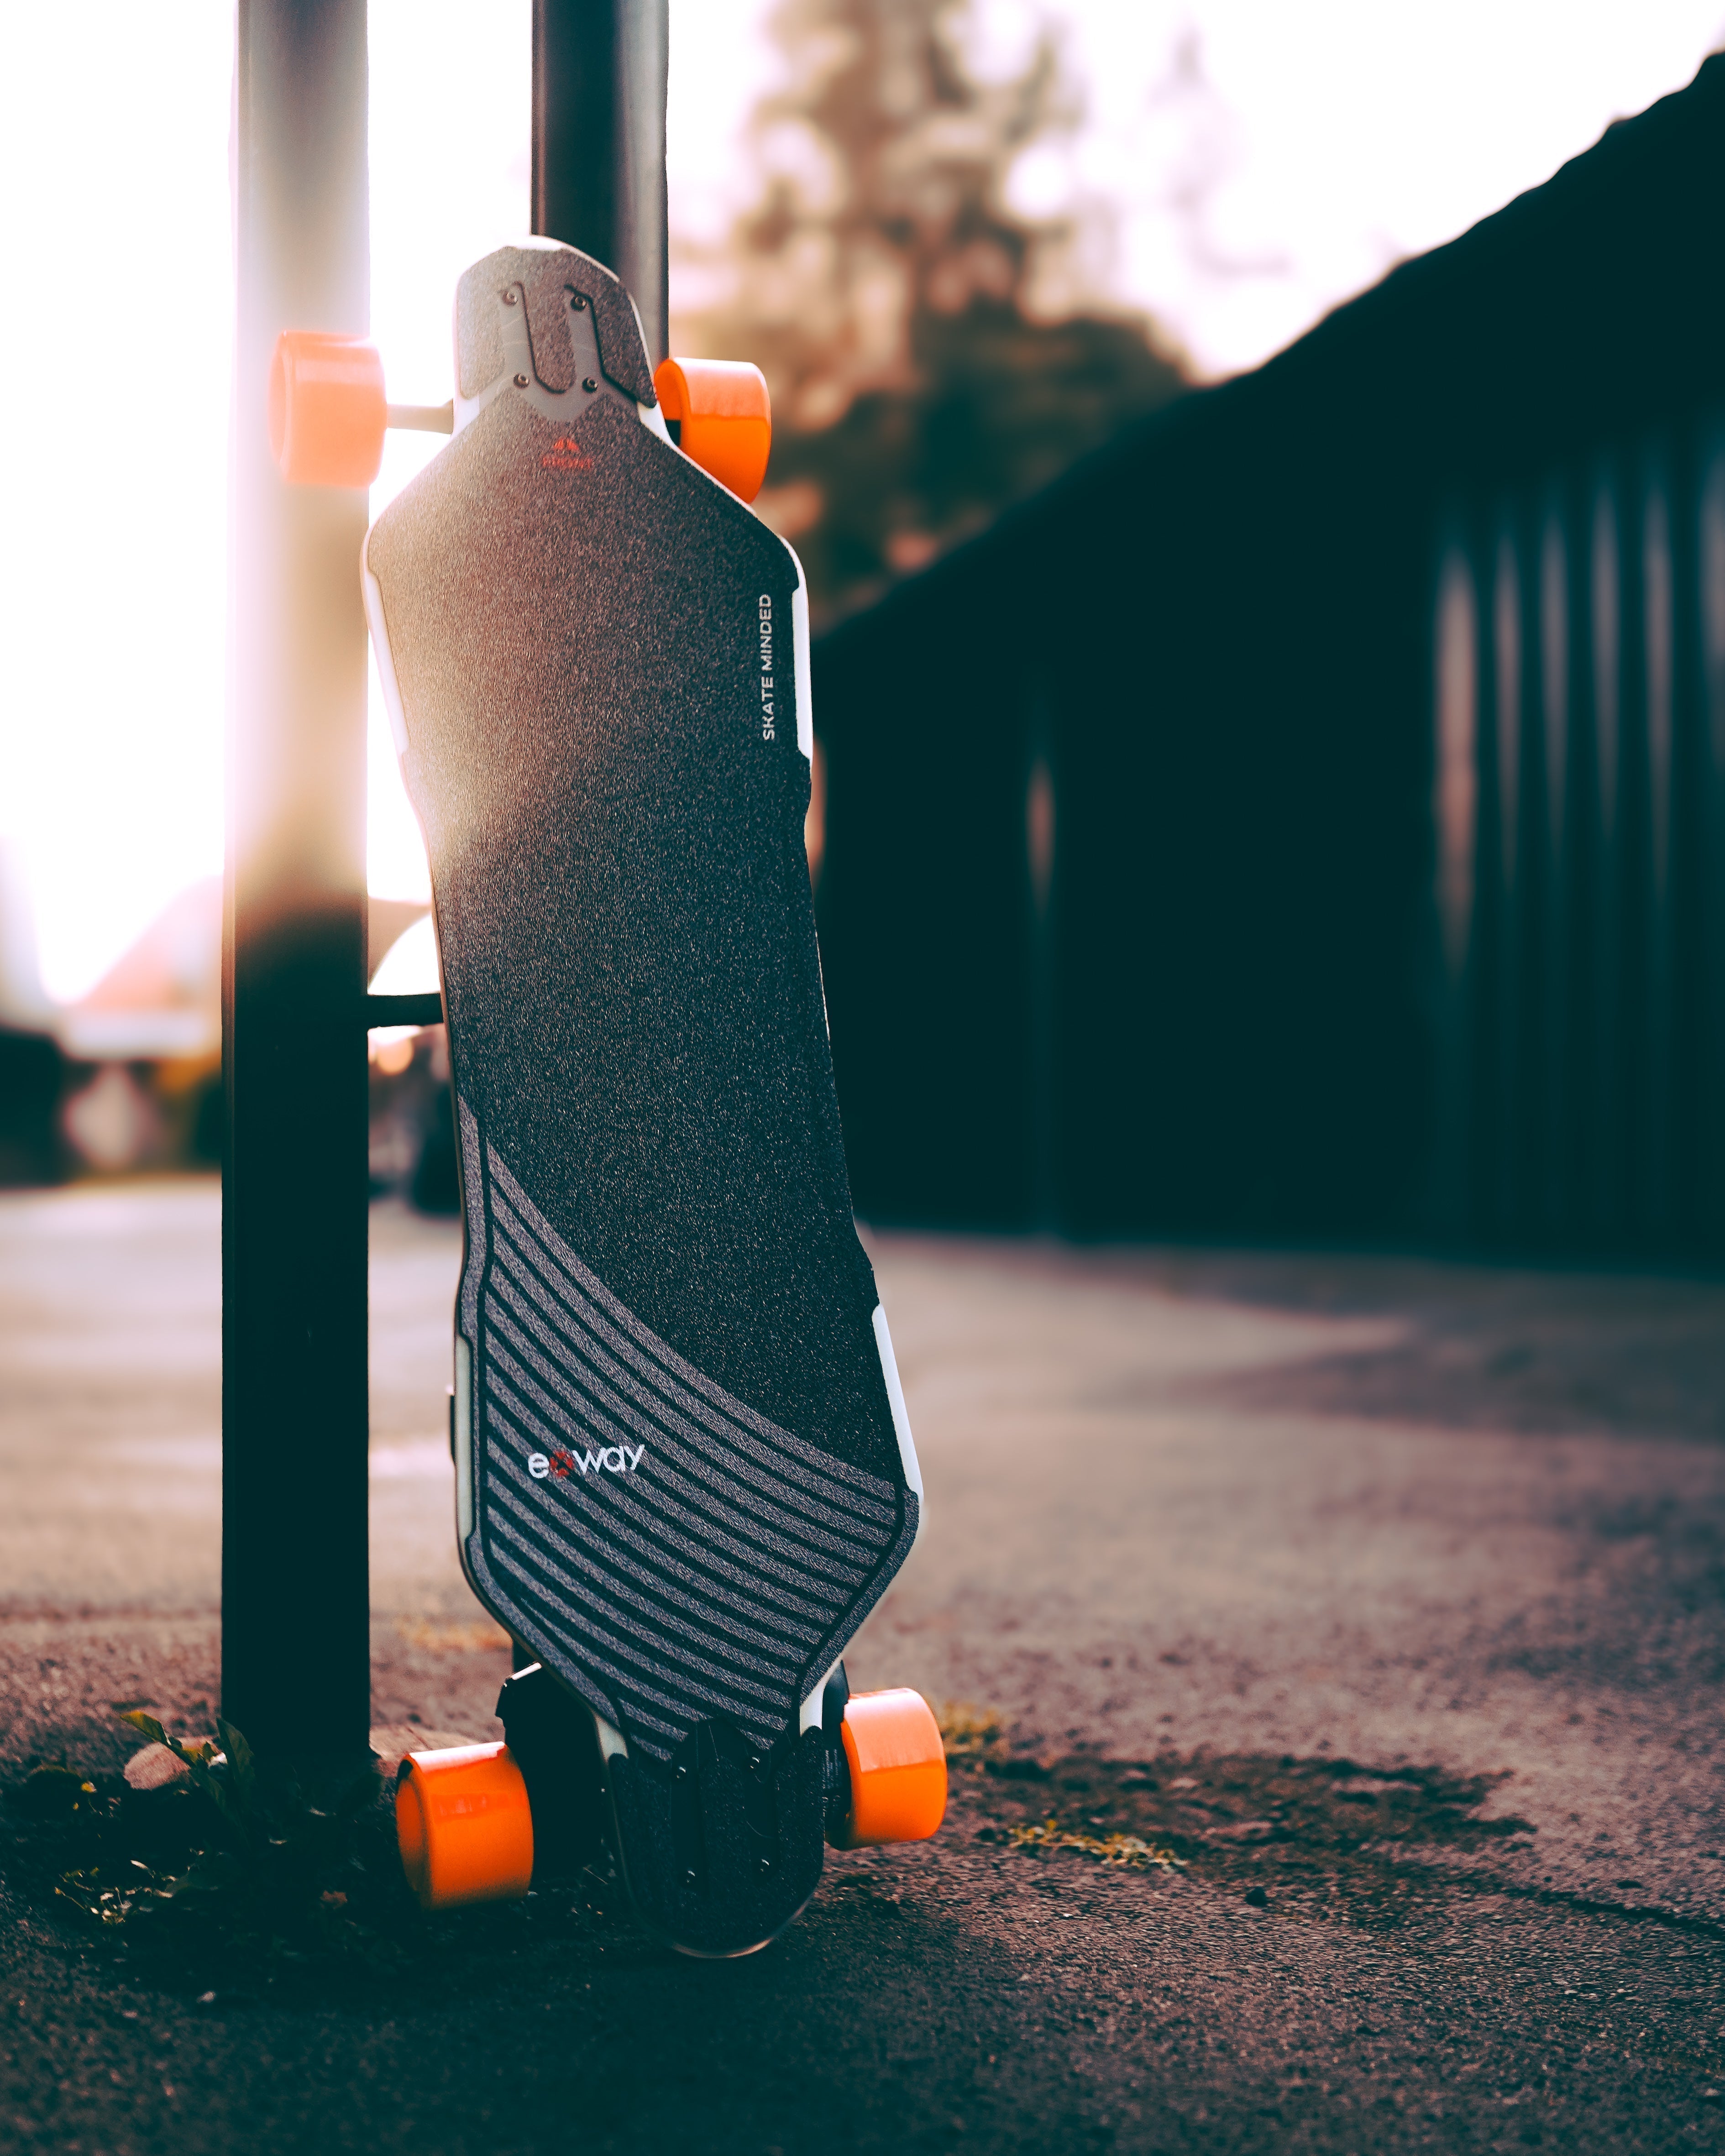
Compatible boards:
- Atlas
- Atlas Pro
- Atlas V2
Why Install an AUX Pack?
Before we jump into installation, here’s what actually changes after adding the AUX Pack:
- Significantly longer riding range
- More confidence on long-distance rides
- Better performance on hills
- Less need to worry about battery limits
In simple terms: you ride longer, worry less, and plan your routes more freely.
Step-by-Step Installation Guide
Step 1: Remove the Original Deck Cover
Unscrew the existing deck cover and carefully lift it off. Make sure you don’t disturb any internal components while removing it.
Step 2: Install the AUX-Compatible Deck Cover
Place the AUX-compatible deck cover onto the board. Align the screw holes carefully and tighten the screws evenly. Avoid overtightening.
Step 3: Connect the Power Cable
Locate the AUX connection port and plug in the connection cable securely. Make sure the cable is fully connected before moving on.
Step 4: Position the AUX Pack
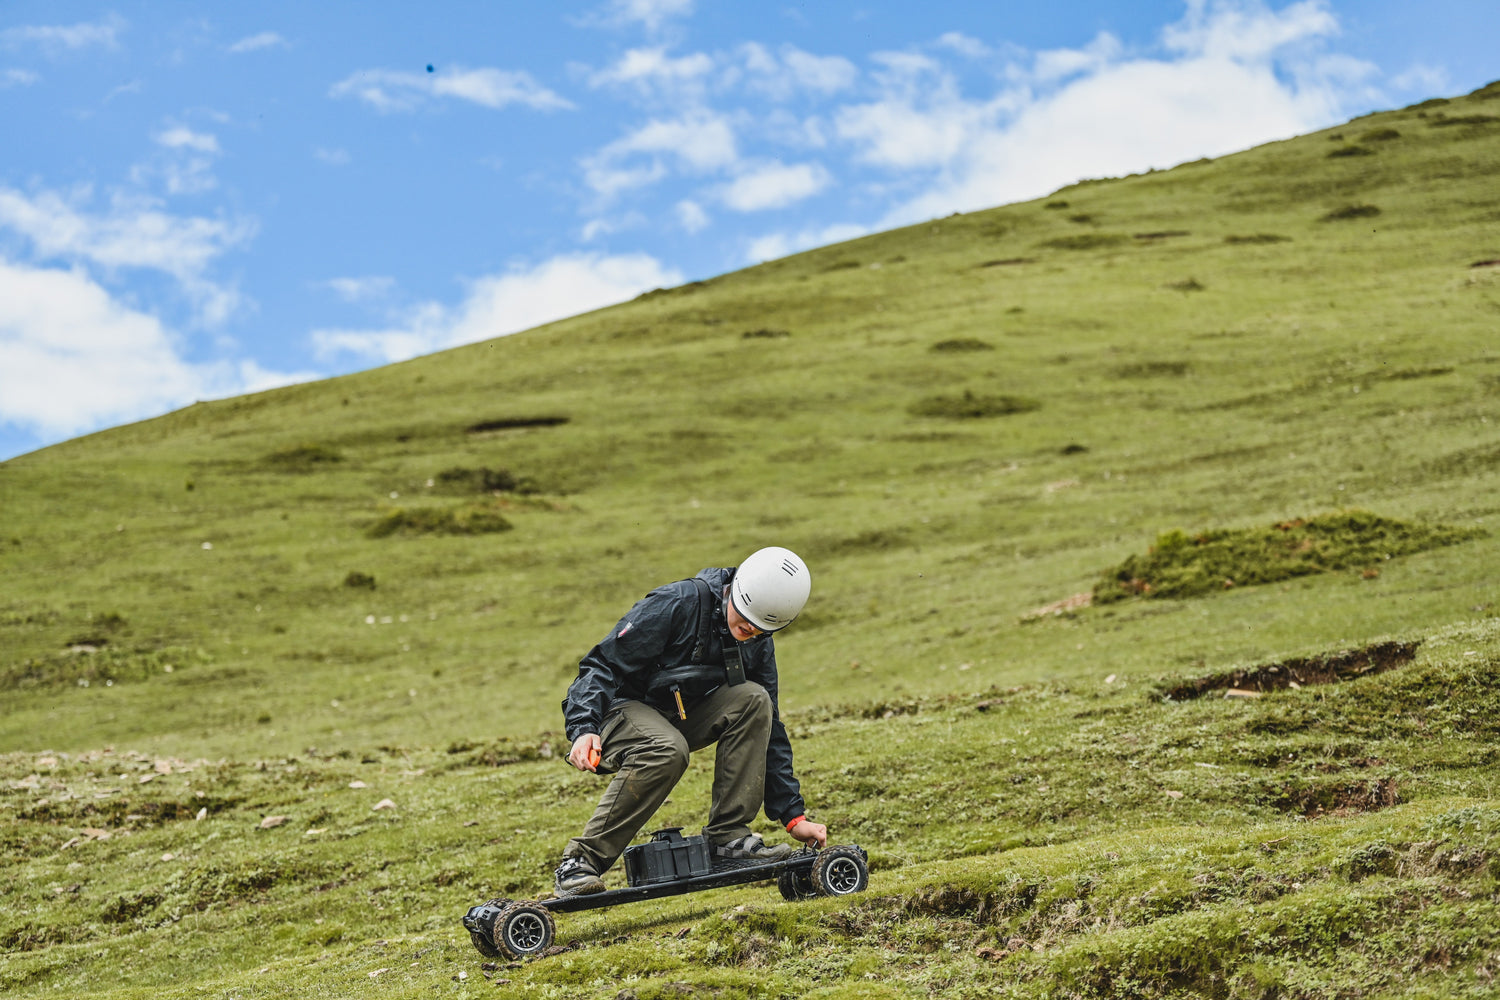
Place the AUX Pack on top of the deck and align it with the mounting position. Make sure it sits flat and stable.
Step 5: Secure the AUX Pack with the Strap
Wrap the ratchet strap around the board and tighten it until the AUX Pack is firmly secured. It should not move when the board is lifted.
Step 6: Power On and Check
Turn on the board and make sure both batteries are recognized correctly. Once confirmed, the installation is complete.
Common Mistakes to Avoid
Loose cable connection
If the cable is not fully connected, the AUX Pack may not be detected. Always double-check the connection before riding.
Not tightening the strap enough
If the AUX Pack moves while riding, it may affect stability. Make sure the strap is tight and secure.
Installing with very different battery levels
Try to keep the battery levels similar before connecting the AUX Pack. This helps both batteries work together more efficiently.
How Long Does Installation Take?
For most riders, the installation takes about 5–10 minutes. Once you’ve done it once, the process becomes quick and easy.
When Should You Use the AUX Pack?
The AUX Pack isn’t necessary for every ride, but it makes a big difference if you:
- Ride long distances
- Commute daily
- Ride uphill frequently
- Want to avoid worrying about battery range
If your rides are short and mostly in the city, the internal battery may already be enough. But if you’ve ever thought “I wish I could ride further,” the AUX Pack is one of the most useful upgrades you can make.

Still Not Sure If the AUX Pack Is Right for You?
If you’re unsure whether the AUX Pack fits your board or riding style, feel free to reach out to us.
Tell us:
- Your board model
- Your average riding distance
- Your typical road conditions
We’ll help you choose the best setup for your ride.
Final Thoughts
The AUX Pack doesn’t just extend your range — it changes how you ride.
More distance. More freedom. Less limitation.


